Getting Started With Thinkific: A Beginner’s Guide To Online Course Creation
 I remember the first time I wanted to create an online course. I knew I had knowledge to share, but I was overwhelmed by all the terms, platforms, and steps involved. Thinkific stood out to me because it’s known for making online course creation simpler and more accessible. If you’ve never used an online course platform before, learning the basics can make the process much smoother.
Maybe you have years of experience and want to teach what you know, or you’re growing your business and want a new way to reach your audience. Building an online course with Thinkific gives you the tools to share your expertise with learners anywhere in the world. Even if you’re new to this, you can get your content online and start teaching without tons of technical skills.
I’ll walk you through the key steps to getting started with Thinkific, so you can move from your first idea to having a real, published course. My goal is to make each part clear, practical, and easy to follow, even if you’ve never built a course before.
Step 1: Decide What You Want to Teach
It’s easy to get excited about the tools, but your topic is the foundation for your whole course. Your experience, interests, and the needs of your audience will shape what you teach. If you teach something you love, your energy will show through in your lessons.
Questions to Help You Choose Your Course Topic:
- What am I knowledgeable or passionate about?
- What questions do people often ask me?
- Is there a topic I can break down into clear, actionable lessons?
- What skills or insights can I offer that learners might find valuable?
Examples of In Demand Course Topics:
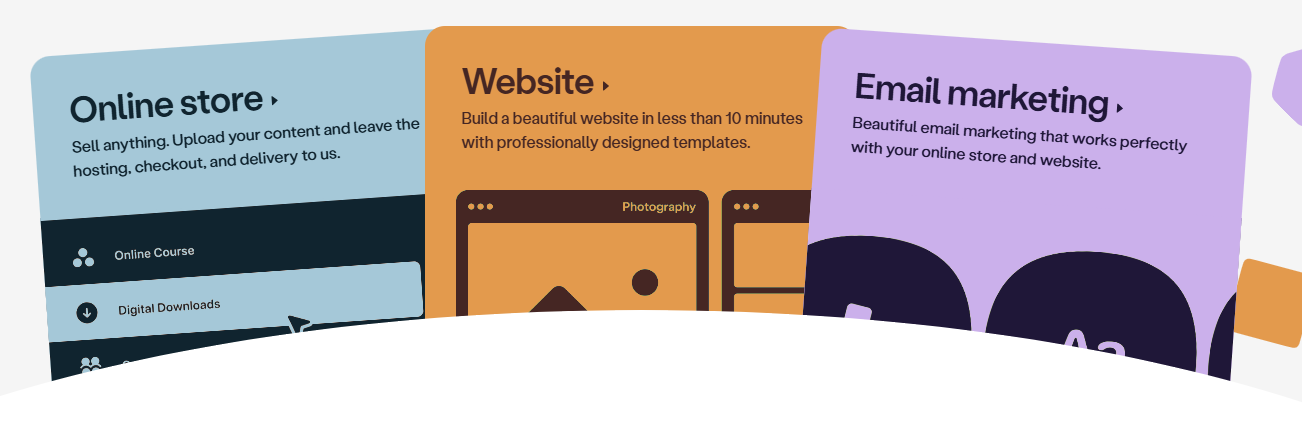
- Photography fundamentals
- Personal finance basics
- Fitness routines for beginners
- Learning a new language
- Starting a small business
- Creative writing techniques
Choosing a clear and focused topic keeps your course from becoming overwhelming. When I started, I wrote out a list of everything I could teach, then picked the topic where I had the most experience and the clearest vision for the course.
If you’re struggling to pick your first topic, try asking people in your network what they’d love to learn from you, or browse forums to spot what’s trending. Sometimes your unique angle on a common subject is exactly what people are waiting to learn.
Step 2: Plan Your Course Structure
Once you have your topic, you can start outlining your lessons. A logical flow keeps learners engaged and helps them see progress as they work through your material.
How to Outline Your First Course:
- Write down the main goal for your students—that’s what they should confidently do by the end.
- List the key skills, ideas, or steps needed to reach that goal.
- Break these into smaller lessons, modules, or sections.
- Decide the best way to teach each part—video, written content, quizzes, worksheets, or all of these.
Sample Simple Course Structure:
- Introduction
- Module 1: Core Concepts
- Module 2: Hands On Activities
- Module 3: Advanced Tips
- Course Wrap Up & Next Steps
Thinkific makes it easy to add and rearrange lessons as you plan. I started with a Google Doc outline, then moved each lesson to Thinkific as I created my content.
Remember, it’s helpful to sketch out a simple map of your modules first. Then, under each module, jot down the points you’ll teach. This makes it easy to see gaps and avoids repetition. You can always expand later as you become more comfortable with online teaching.
Step 3: Set Up Your Free Thinkific Account
You can start using Thinkific for free. The signup process is simple, with only a few details needed. Once your account is ready, you’ll see your dashboard. This is your control center for building and managing your course.
How to Create Your Thinkific Account:
- Go to thinkific.com and select “Get Started Free.”
- Enter your name, email, and a password, or sign up with Google or LinkedIn.
- Follow the prompts to set up your school name and main course topic.
- Verify your email by clicking the link Thinkific sends you.
Your school URL is the web address where students will find your course. Think about the name you want to use, since this will represent you or your business going forward. Choose something memorable and relevant to your niche.
Step 4: Build Your First Course on Thinkific
Once you log in, you can immediately start creating course content inside Thinkific. The platform guides you through the process step by step.
How to Start Building:
- On your dashboard, click “Manage Learning Content” or find the “Courses” tab.
- Select “Create Course.”
- Choose “Blank Course,” or pick a template if you want a head start.
- Fill in your course title and a short description so students know what to expect.
Adding Lessons and Content:
- Each course in Thinkific is made up of Chapters and Lessons. Chapters are like folders, and lessons go inside them.
- Click “Add Chapter” to organize your main topics or modules.
- Click “Add Lesson” in each chapter to upload video, text, audio, quizzes, PDFs, or downloadable files.
I found the drag and drop system really helpful. You can upload a video, add written notes, and attach resources directly inside each lesson. Don’t be afraid to experiment—Thinkific gives you plenty of flexibility to fit your teaching style.
Step 5: Make Your Course Engaging
Online courses work best when they keep students motivated. Mixing different content types, providing exercises, and using quizzes helps learners stay on track.
Engagement Tips from My Experience:
- Keep video lessons short; 5-15 minutes is usually easier than long lectures.
- Add quizzes after key lessons to help reinforce learning. Thinkific lets you set these up inside each chapter.
- Offer downloadable worksheets or checklists. Even a simple PDF summary can help.
- Include discussion prompts if you want students to interact or share their progress.
Students appreciate clear summaries and actionable steps, so always end lessons with a quick review of key points or a suggested activity. Try breaking up heavier concepts with quick reflection questions or real-life examples to help people connect with your material.
Step 6: Set Pricing and Access Options
Thinkific allows you to choose from several ways to deliver your course: free, one time payment, subscription, or payment plan. Deciding how to price your course depends on your goals and your audience.
Common Pricing Strategies:
- Offer the first module free to attract new students, then charge for full access.
- Set a one time price for lifetime access.
- Use monthly subscriptions if you plan to add new content or have ongoing lessons.
- Create bundles if you have several courses and want to sell them as a package.
In Thinkific, open your course settings and pick your pricing model. Add details about payment, and connect your preferred payment processor, like Stripe or PayPal, right from your dashboard. Remember to check tax implications for your location as you begin charging students.
Step 7: Publish Your Course and Launch
Once you’ve added your content and double checked everything, publishing your course is a straightforward process. Thinkific will walk you through the final steps, including making your course visible and sharing your sales page link.
Checklist Before Publishing:
- Preview each lesson to check for typos or missing resources.
- Test your videos and downloads to make sure they play correctly.
- Add your course image or banner to make your course look professional.
- Write a simple welcome message for your students.
After publishing, you’ll get a unique URL for your course page. You can share this with your audience on social media, in emails, or on your website. Encourage early students to give feedback, as their testimonials can help attract more enrollees later.
Step 8: Attract Your First Students
Building your course is only one part of the adventure. Attracting students means spreading the word and making it easy for them to enroll.
Ways I Marketed My First Course:
- Posted about it on my personal social media accounts.
- Reached out to friends and former clients for feedback and testimonials.
- Added a signup form to my website to collect interested emails.
- Ran a small promotion or discount for early students.
Thinkific has tools to help you with marketing, such as builtin landing pages, email notifications, and student progress tracking. These make it easier to stay in touch with learners and support them throughout the course. Consider guest posting on related blogs or collaborating with influencers in your niche to get the word out to new audiences.
Step 9: Support Learners and Improve Your Course
People take online courses to learn, but also to feel supported. Responding to questions and collecting feedback helps you see what works well and what can be better next time.
Ways to Support and Grow:
- Set up discussion forums or a private Facebook group for students.
- Send welcome emails and check in during the course.
- Ask students for feedback after key lessons.
When I first launched my course, I made quick video responses to answer common questions. This was simple to do with my phone, and students loved the personal touch. Adjusting your content based on feedback builds trust and keeps your courses improving over time. Offering occasional live Q&A sessions or bonus content can give your course extra value and keep students engaged.
Common Questions & Troubleshooting
How long does it take to create a course on Thinkific?
The timing depends on how much content you need to prepare and how familiar you already are with your topic. If your materials are ready, you can set up the basics and publish a simple course in a weekend. More detailed courses with videos and downloads may take several weeks. I found batching my work, focusing on one module at a time, kept me motivated and organized.
Do I need to be a tech expert to use Thinkific?
Thinkific doesn’t require advanced technical skills. The setup steps are guided, and most tasks use clear menus and drag and drop builders. If you get stuck, Thinkific offers a library of help articles and a customer support team that I’ve found really responsive. There are also community forums and video tutorials to guide you through almost every challenge.
Can I update my course after publishing?
Yes, you can edit or add lessons anytime. When you make changes, your current students will see the updates automatically. Refreshing your course is a good way to add new examples or stay current in your field. Thinkific makes this process seamless, so don’t hesitate to refine your material once it’s live.
What’s the difference between free and paid Thinkific plans?
The free plan lets you create unlimited courses for up to a certain number of students and basic features. Paid plans allow custom branding, advanced marketing tools, and integration with external plugins. I started free to test things out, then upgraded once I was ready to scale up. The flexibility means you don’t have to commit to a paid plan until your course starts growing and you need those extra tools.
Next Steps and Tips For Success
Publishing your first online course feels rewarding. Even with a small audience, you can create something that helps people learn new skills or reach their goals.
Your Simple Roadmap to Get Started:
- Pick a topic you feel confident teaching; what do you enjoy sharing?
- Outline your key lessons and decide the best format for each.
- Create your free Thinkific account and start building your course modules.
- Add a variety of content: videos, text, and activities.
- Test everything before publishing, then share your course page with your audience.
Starting small is better than waiting for “perfect.” You can always improve and expand your course as you gain feedback and experience. More than anything, your real life knowledge and personal approach are what make your course valuable. If you have questions or want to share your topic idea, feel free to comment or connect with other course creators. I’m rooting for you as you build something great with Thinkific! Remember, the key is to keep learning and tweaking as you go, and your online teaching adventure will continue to grow.